
Classroom 3D Printing: A Quick Guide to Printer Selection
More and more schools are adding 3D printing to their repertoire every year because of the many benefits they can offer students. They’re an opportunity for students to learn design and skills and get experience with CAD (computer-assisted design) software. Additive manufacturing (3D printing) also enables teachers to produce customized teaching aids and motivational trinkets for their students. However, the 3D printing market is very crowded and online forums are full of conflicting advice about the best printer to buy and how to implement it.
This is a general advice and information piece, I won’t be providing any specific recommendations (other than to buy a Nautilus, but I’m biased) instead I will highlight the important factors in making a decision. Once you have decided the main factors of your printer purchase, research and the final decision become much easier. If you need an introduction to the concepts and terminology of 3D printing, there are a ton of great articles online. Charlie from ScrumLaunch’s 5-minute primer is a solid introduction for the uninitiated.
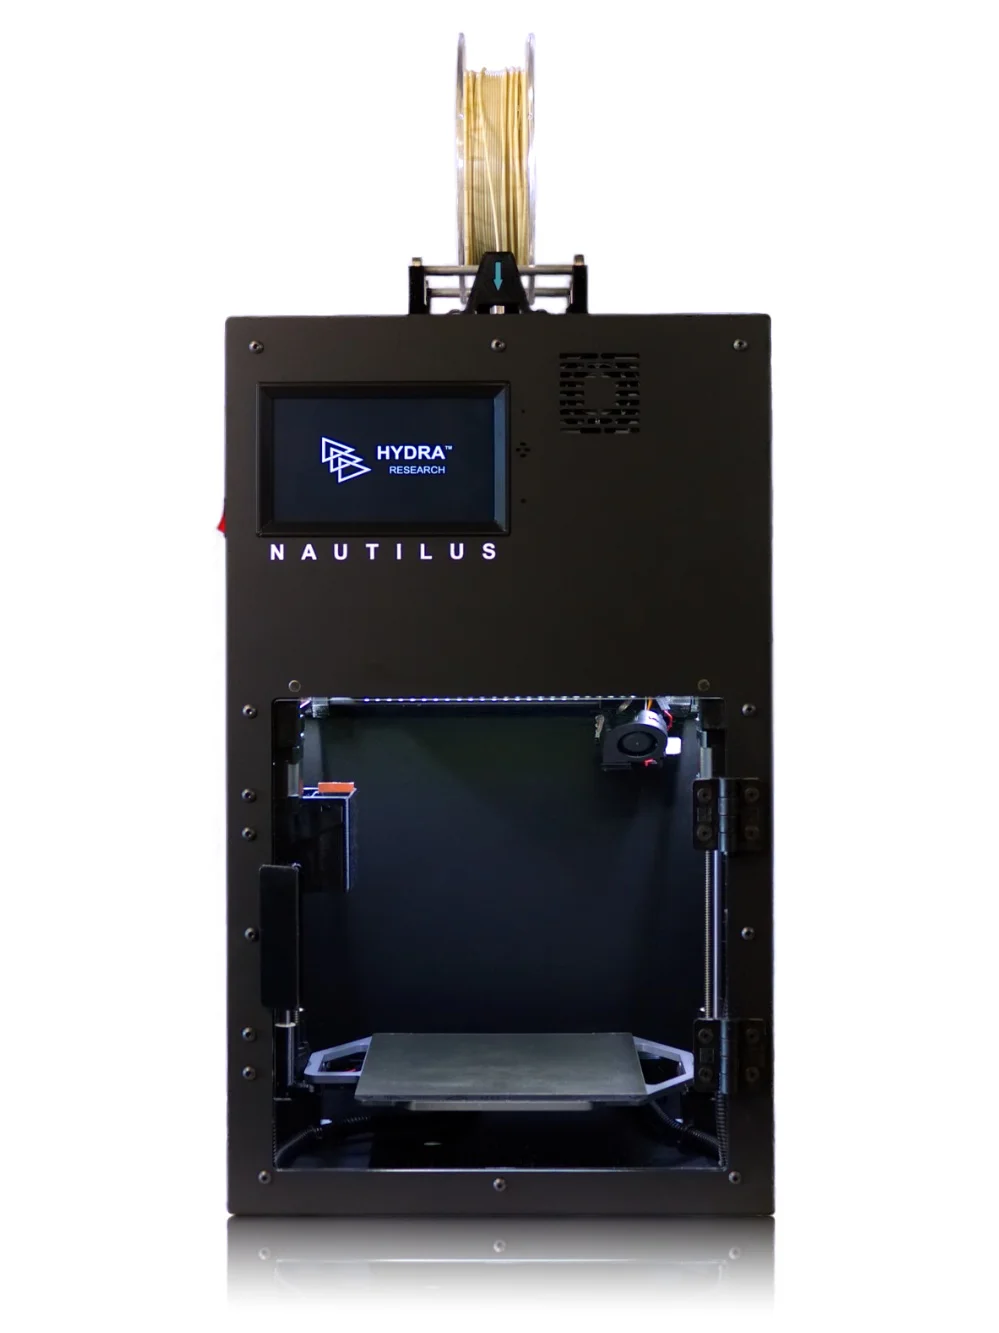
The Nautilus at $2,500 is right in the middle of the more professional $1,500-$3,500 price bracket
Budget
The first factor when buying just about anything is your budget. The desktop 3D printing market has divided itself into a few price brackets with general similarities in each of these brackets. The brackets I will cover are sub $500, $500-$1500, $1500-$3500, and then $3500+. This is a generalization of what you will find available on the market, there will be overlap and exceptions. If your budget is limited, there are many grants and resources available to get a 3D printer in your classroom.
The cheapest 3D printers are going to be the sub $500 printers. A quick Amazon search will reveal an overwhelming number of cheap 3D printers that all look very similar. I would not recommend one of these machines, they are frequently unreliable and challenging to use without user upgrades and a lot of time tweaking and tuning. Some of these printers work quite well, but they rarely have good customer support and can easily become a time sink. Well known companies in this segment include Creality, Anet, and Monoprice.
The $500-$1,500 bracket is a good place to start if you want to purchase and assemble a kit or want a cheaper printer that will print basic materials reasonably reliably. They will frequently lack features like an enclosure or detection of various failures (filament running out, motors skipping steps, etc) and may not have the smoothest workflow. There are also some excellent printers in this segment from companies like Prusa, Flashforge, Dremel, and others.
The next price bracket, $1,500-$3,500, is where you can find some of the more professional desktop 3D printers. These will usually have dedicated software clients, reliable customer support, features to improve reliability, and features to make workflow easier (touchscreens, WiFi capability, remote monitoring/control, etc.). These printers will usually be better suited to print technical and challenging plastics such as flexible, carbon/glass fiber reinforced, and warp prone materials. The Nautilus is an excellent example of this kind of printer, along with printers from companies like Lulzbot and Ultimaker.
Finally, the top tier price bracket will be very industrial focused machines. I will not go into this price bracket very much because there is a lot of variation. Obviously, a $10,000 printer should offer a lot more than a $3,500 machine. Generally speaking, these printers will be enclosed and have most of the reliability and usability features mentioned before. They will also have strong technical support and will have dedicated software for the machine. They may have closed filament systems (you can only buy materials from the printer manufacturer) or are designed to print a smaller selection of materials to improve reliability. They also frequently offer dual extrusion which allows printing with dedicated support material to achieve more complex geometries. The Nautilus was designed to offer the advantages of many of these machines at a more affordable price.

Ultimaker Cura, one of the more popular slicers and the one supported on the Nautilus
Workflow
In my experience, the workflow is one of the most underrated aspects of the 3D printing experience. Many companies get away with putting very little effort into the software and UI aspects of the printing experience, this works fine for dedicated makers and experienced users but can be a huge barrier to students or beginners.
Generally speaking the workflow for 3D printing starts with a 3D model (downloaded from a repository or drawn up in CAD) that is processed by a slicer into G-Code and then the G-Code is uploaded to the printer. It is important to do some research into the slicer recommended for the printer you are interested in. Some companies put a lot of work into developing a totally customized slicer for their machine while others just put the most basic profile online and expect the users to figure out the optimal settings.
I would strongly recommend purchasing a printer with a well-tuned slicer, it can quickly become overwhelming and frustrating to try and figure out which of the hundreds of available settings are causing poor quality or print failures, especially when there’s a class to teach! Look for companies with customized slicers (e.g. Ultimaker Cura, Lulzbot Cura, PrusaSlicer, etc.) or well-tuned profiles (the Nautilus uses a plugin for Cura with over 200 profiles) to make your life easier.
Once the model is sliced, the G-Code has to get to your printer. There are 3 common ways that printers handle transferring the sliced file: tethered printing, SD cards, and network connections. Almost every printer on the market offers tethered printing where the computer live streams code for the entirety of the print, which requires staying plugged in for the duration of the print. With SD cards and networks, you can upload the file and run the print off the SD card or internal memory.
Some of the lowest tier printers only offer tethered printing, while higher-end printers may offer a combination of SD cards and internet connectivity. One other advantage of network connected printers is they often enable live monitoring. For example, the Nautilus runs on the Duet control boards which offer a web monitoring client so you can see the print status and other relevant information on any computer connected to the same network. Make sure to select a method that works for your classroom, maybe you have don’t have a dedicated computer for tethered printing or your WiFi network requires enterprise authentication which isn’t compatible with many printers unless they offer an Ethernet connectivity option.
Uses
The last and most obvious aspect to consider when buying a printer is the use cases. It is important to know how you and your students will use the 3D printer. The major factors here are material compatibility and build volume.
If you plan to mostly print trinkets and visual aids, you can likely print almost exclusively in PLA which will print on just about any 3D printer you can find. However, if you need to print functional parts for a robotics team, you might want to be able to print in Carbon Fiber Nylon or a flexible filament which requires more specialized hardware. Also if you want to produce very complex geometries you might want a printer with dual extrusion to print soluble or breakaway support material.
Build volume is also quite important to your printer selection, but in my experience, most people think they need a bigger printer than they really do. For example, the Nautilus is on the smaller end of the spectrum (the build volume is slightly larger than a 200 mm cube) and we were able to print a size 10 shoe sole. It requires a diagonal orientation, but that is quite a large print on what is generally considered a fairly small build volume. I’d advise picking an example of a larger part you might print and taking some measurements to determine the build volume required.
Summary
In summary, I thoroughly recommend introducing students to 3D printing. It is a gold mine of learning opportunities and allows students to produce professional looking finished products. When selecting a printer, I’d advise determining the price bracket that matches your budget (looking out for grants to expand that budget) and needs. Then look at workflow and use cases: determine what slicer and workflow setup makes sense for your class as well as what your material and build volume needs are. These three factors should narrow your options significantly and simplify the selection process greatly.
If you’ve read this guide and think the Nautilus might be a good fit for your needs, don’t hesitate to contact us. We are happy to help customize an additive manufacturing solution to suit your needs.